What to Do After Home Damage in Phoenix: A Homeowner’s Recovery Guide

Updated: 2 days ago
Home damage creates pressure fast. A roof leak can turn into soaked insulation. Smoke can settle into cabinets and drywall. A monsoon storm can push water under doors before you know what happened.
The first few hours matter. So do the next few weeks.
Here’s a clear, practical guide for Phoenix homeowners dealing with fire, smoke, storm, water, or other property damage.
Make sure the home is safe before you go in
Before photos, calls, or cleanup, check for danger.
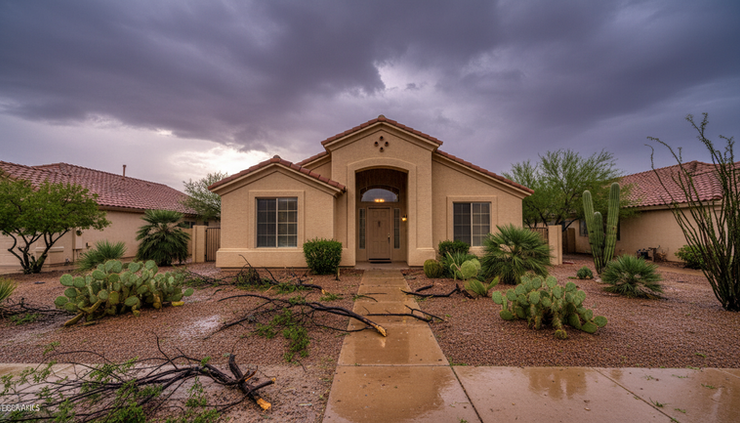
If there’s active fire, heavy smoke, flooding, electrical damage, a gas smell, or structural movement, stay out and call the right emergency service. Don’t test a damaged ceiling, walk through standing water, or enter rooms with sagging drywall.
Phoenix homes can take damage in different ways:
Monsoon winds can lift roof materials or damage patio covers.
Wind-driven rain can enter through roof penetrations, windows, and stucco cracks.
Water from plumbing leaks can spread behind walls and under flooring.
Fire and smoke can affect surfaces far beyond the burned area.
Heat can make odors worse and speed up mold risk after water damage.
If the damage looks serious, treat the property like a work zone. Wear shoes with thick soles. Avoid exposed wiring. Keep kids and pets away.
For water damage, shut off the water if you can do it safely. For electrical concerns, don’t touch panels or outlets if the area is wet. Call a licensed professional.
Your goal at this stage is simple: prevent injuries and stop the damage from getting worse.
Stop ongoing damage if you can do it safely
Most insurance policies require homeowners to take reasonable steps to protect the property from additional damage. That doesn’t mean rebuilding the house on day one. It means doing basic temporary protection.
That may include:
Turning off the main water supply after a plumbing leak
Placing buckets under an active roof drip
Covering a broken window with temporary material
Using tarps only when safe and practical
Moving undamaged belongings away from affected areas
Running fans only if electrical conditions are safe and the source of water is stopped
Don’t start major demolition before documenting the damage and talking with your insurance company. Removing damaged materials too soon can make the claim harder to review.
If the home is exposed to weather, ask a contractor about emergency board-up, dry-in, or temporary protection. In Phoenix, even one more storm can make a roof or window problem much worse.

Document everything before cleanup
Good photos and notes help your insurance company, adjuster, and contractor understand what happened.
Take more photos than you think you need. Use a phone or camera and capture the damage from several distances.
Start with wide shots:
Front, back, and sides of the home
Damaged rooms from each corner
Roof, ceiling, flooring, cabinets, and walls
Exterior areas affected by wind, water, smoke, or impact
Then take close-ups:
Stains
Cracks
Burn marks
Soot
Wet flooring
Damaged cabinets
Broken fixtures
Ruined personal items
Use video too. Walk slowly through the damaged area. Say the date, location, and what you’re seeing. For example, “This is the laundry room wall where water came through after the supply line leak.”
Make a written list while the details are fresh. Include:
When the damage happened
What caused it, if known
Which rooms were affected
What temporary steps you took
Names of people you spoke with
Receipts for emergency repairs, hotel stays, supplies, or cleanup
Keep damaged materials if your insurer asks you to. If something must be thrown away for safety or sanitation, photograph it first.
This step matters for any property damage restoration Phoenix AZ project because the repair plan often depends on what the adjuster can verify.
Contact your insurance company quickly
Call your insurance company or agent as soon as you can. Ask how to start the claim and what they need from you.
Have this information ready:
Your policy number
Date and time of loss
Cause of damage, if known
Areas of the home affected
Photos and videos
Emergency steps already taken
Whether the home is livable
Ask clear questions during the call.
For example:
What is my claim number?
What damage is covered under my policy?
Is temporary housing covered if the home isn’t safe?
Do I need approval before hiring emergency services?
When will an adjuster inspect the property?
What receipts should I keep?
Can I choose my own contractor?
Write down the answers. Save emails and texts. Keep all claim documents in one folder.
Insurance coverage depends on the policy, the cause of loss, exclusions, deductibles, and the adjuster’s findings. This guide is general information, not insurance or legal advice. Your policy and insurer’s claim decision control the outcome.
Don’t rush into permanent repairs
It’s normal to want everything fixed right away. Waiting feels stressful, especially if the kitchen, bathroom, or bedrooms are affected.
Still, permanent repairs need the right sequence.
A typical restoration path may look like this:
Emergency protection
Water extraction or smoke cleanup
Drying and mitigation
Damage assessment
Insurance inspection
Scope of repairs
Estimate review
Permits, if needed
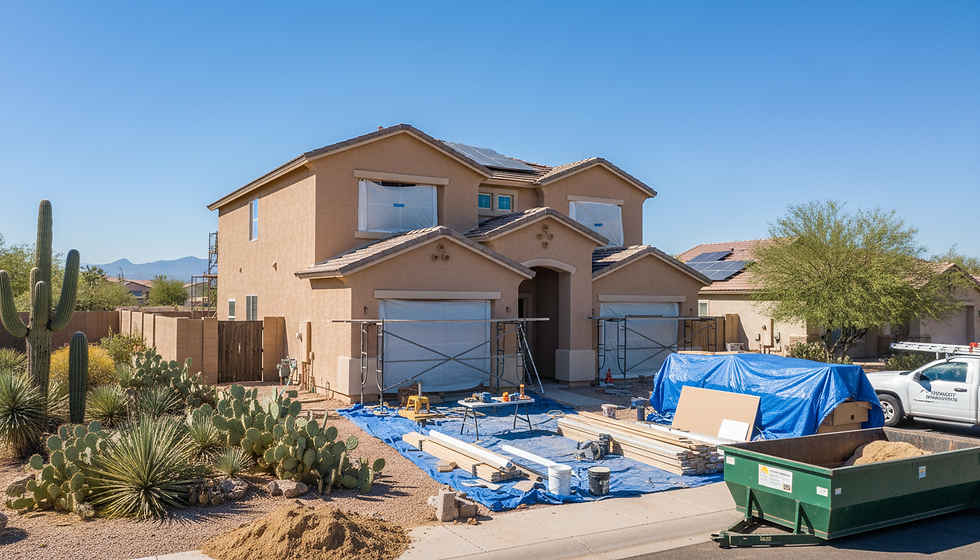
Reconstruction
10. Final walkthrough
Skipping steps can cause problems. Wet framing hidden behind drywall can lead to future repairs. Smoke odor trapped in insulation can keep coming back. Flooring installed too soon after a water loss can fail.
For water damage, drying matters before reconstruction. For fire damage, cleaning and odor treatment matter before paint and finishes. For storm damage, the source of intrusion needs to be fixed before interior repairs begin.
A good contractor will talk about sequence before price. That’s a good sign.

Choose a qualified Phoenix contractor for repairs
After damage, the contractor you choose matters as much as the claim itself. You need someone who can repair the home correctly and communicate clearly.
Look for a contractor who handles residential construction, repair, and reconstruction. If insurance is involved, ask whether they have experience with insurance restoration Phoenix, home damage repair Phoenix, insurance repair contractor Phoenix, property damage contractor Phoenix work.
That experience helps because insurance repairs involve more than normal remodeling. The contractor may need to review an adjuster’s scope, explain missing items, estimate code-related repairs, and separate covered repairs from upgrades.
Ask these questions before hiring:
Are you licensed, bonded, and insured in Arizona?
Have you handled fire, smoke, water, or storm reconstruction?
Who will manage the project?
How will you communicate updates?
Will I receive a written scope and estimate?
How do change orders work?
What work do you self-perform and what gets subcontracted?
What is the expected timeline?
Do you help coordinate with insurance documentation?
Don’t hire based only on the fastest start date. After a major storm or local event, many homeowners need repairs at once. That can attract out-of-area crews and rushed work.
A reliable contractor should be willing to explain the process, not pressure you into signing on the spot.
Know the difference between mitigation and reconstruction
Homeowners often hear these terms after damage.
Mitigation means stopping further damage. This can include water extraction, drying, board-up, tarping, debris removal, smoke cleaning, or temporary protection.
Reconstruction means rebuilding damaged parts of the home. This can include framing, drywall, flooring, cabinets, roofing, paint, tile, trim, and finish work.
Some companies do one part. Some do both. Some coordinate with specialty vendors.
Here’s a simple example.
A supply line breaks in an upstairs bathroom. Water reaches the ceiling below. The mitigation team removes wet drywall, dries the framing, and checks moisture levels. The reconstruction contractor repairs drywall, texture, paint, flooring, trim, and any damaged cabinets or fixtures.
Both parts matter. Drying without rebuilding doesn’t restore daily life. Rebuilding without proper drying can hide problems.
Keep the insurance claim organized
Claims involve many moving parts. Organization saves time and reduces confusion.
Create a folder on your phone or computer. Keep:
Claim number
Adjuster name and contact details
Policy documents
Photos and videos
Contractor estimates
Receipts
Invoices
Temporary housing records
Messages from your insurer
Notes from phone calls
Take notes after every major conversation. Include the date, who you spoke with, and what they said.
If your contractor finds damage that wasn’t included in the original insurance scope, ask how it should be documented. Many claims require supplemental review when hidden damage appears during repairs. That can happen after drywall removal, cabinet removal, roof tear-off, or flooring demolition.
Don’t approve unclear work. Ask for plain language. A good estimate should tell you what will be repaired, where the work will happen, and what materials are included.
Think carefully about upgrades during repairs
Damage repairs sometimes overlap with remodeling. If cabinets, flooring, tile, or drywall already need replacement, it may be a good time to think about changes.
That doesn’t mean insurance pays for upgrades. Insurance usually addresses covered damage based on the policy. Upgrades, layout changes, and other improvements are often homeowner costs.
Still, this can be a practical time to plan.
For example:
A damaged kitchen may lead to new cabinet layout planning.
A bathroom leak may open the door to a full bath remodel.
Flooring replacement may be expanded into nearby rooms for a consistent look.
Wall repairs may make electrical or lighting updates easier.
A damaged area near an exterior wall may raise questions about a future addition.
Get pricing separated. Ask the contractor to break out covered repair work from optional upgrades. That keeps the insurance side cleaner and helps you make better budget decisions.
If permits are needed, plan for that early. Structural changes, additions, certain electrical updates, plumbing changes, and major remodels may require city review or inspections.

Watch for red flags after a local damage event
After storms, fires, or neighborhood-wide damage, homeowners may get calls, flyers, or door knocks from contractors. Some may be qualified. Others may not be.
Be careful if someone:
Pushes for an immediate signature
Asks for a large cash payment upfront
Refuses to provide license or insurance information
Says permits are never needed
Offers to “cover” your deductible in a questionable way
Won’t put the scope in writing
Avoids direct answers about who performs the work
Uses scare tactics about your insurance claim
Trust is built through clear communication, written details, and proper credentials.
Check licensing. Ask for proof of insurance. Review the contract before signing. Make sure payment terms, project scope, materials, exclusions, and timelines are written down.
A real construction partner won’t mind reasonable questions.
Plan for daily life during repairs
Even smaller repairs can disrupt your routine. Larger reconstruction projects can affect kitchens, bathrooms, bedrooms, laundry rooms, and entrances.
Ask your contractor what to expect before work starts.
Cover these points:
Work hours
Access to the home
Dust control
Parking and material storage
Protection for unaffected rooms
Utility shutoffs
Pets and children
Noise
Cleanup schedule
Milestone inspections
If the kitchen is affected, set up a temporary meal area. If a bathroom is out of service, plan around it. If flooring work will block hallways, ask how access will be managed.
Phoenix heat also matters. If repairs affect insulation, windows, roofs, or HVAC areas, comfort can change fast. Talk through temporary solutions before demolition starts.
What recovery should look like
A good recovery process is organized. It doesn’t feel perfect every day, but it should keep moving.
You should know:
What damage was found
What steps come next
Who is responsible for each part
What insurance has approved
What costs are yours
When key work is expected to happen
Who to call with questions
Ohana Built helps Phoenix-area homeowners with residential construction, remodeling, insurance restoration, and reconstruction after property damage. The right contractor can help turn a stressful claim into a clear repair plan, then rebuild the home with care.
When your home is damaged, don’t start with panic. Start with safety. Document everything. Call your insurer. Protect the property. Then bring in qualified help.
That order gives you the best shot at a clean recovery and a home that feels right again.


Comments